How To Create A Modern, Minimalist Bump Print
Written by Emily Thompson
Photography by PHOTOGRAPHY BY CHRIS DANIELS
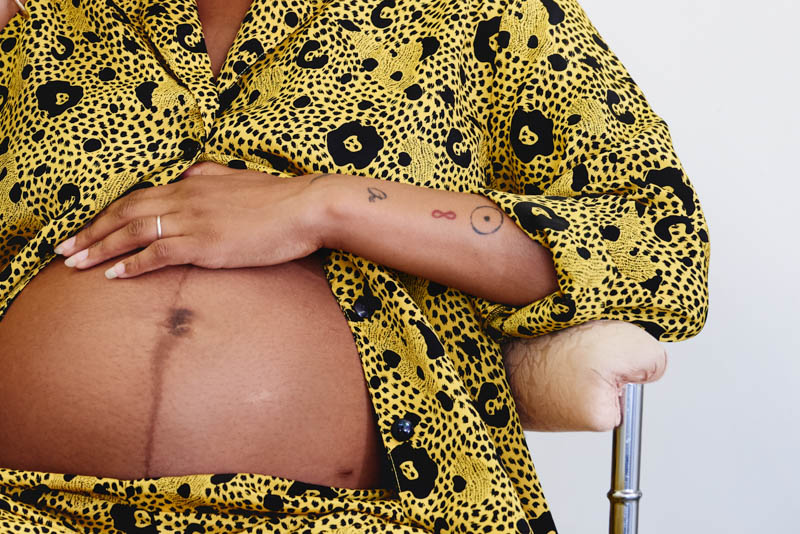
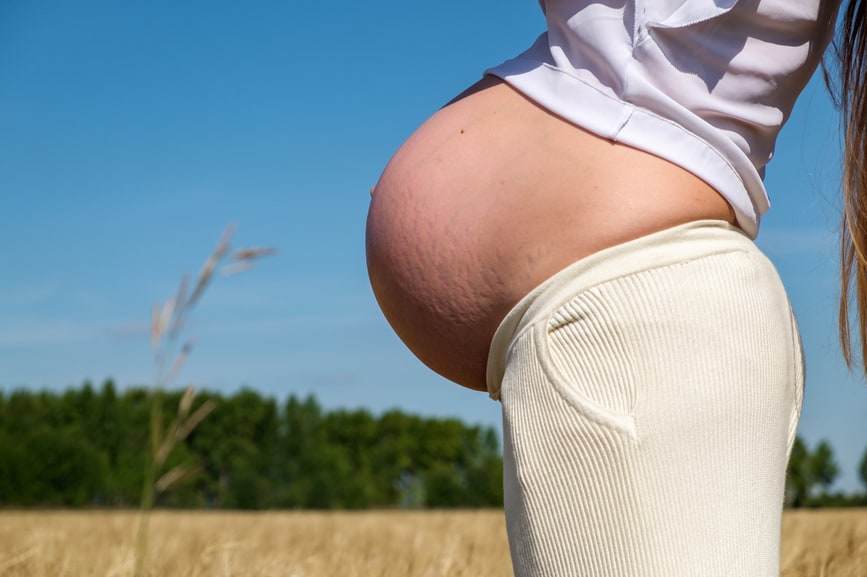
Documenting a pregnancy can look very different from mother to mother, but the overall goals are usually the same. We know we want to cherish and remember the time baby spends in their first home. We also want to find ways to connect with our child during those months where we can only imagine their features and personalities. But how?
Creating a bump print is a sweet and special way to not only share in a creative project with the growing baby in your belly, but it gives you a memorable and beautiful piece of art to hang in the nursery or house, celebrating the time when you shared a body with that little person.
The supply list is simple, the process will probably make you giggle, and the result will give you some warm and fuzzy feelings about how special it is to create something with your children. If you repeat the project as your belly grows, you’ll notice the print that transfers becoming smaller and smaller!
Here’s What You’ll Need:
- 1-3 colors of non-toxic, washable paint. (Sets like this one, which include primary colors as well as white and black, give you the ability to create any color you want!)
- Short jars or cups you don’t mind mixing washable paint in. Jars with lids work best if you plan on saving the paint for future projects.
- Popsicle sticks for color mixing.
- High-quality art paper in a size and finish of your choosing. Watercolor-friendly paper is a great choice. You want to choose something that will stand up well to the high water content of this kind of paint.
- Painter’s tape.
- A hand or dish towel you don’t mind getting washable paint on.
Click through the slideshow below for step-by-step instructions on how to make your own bump print.
-
- Pull together some color and layout inspiration for your print. Whether you head to Pinterest, or into the room in your house you plan to hang your print, making a mood board for your artwork will get your project off on the right foot. If color theory and color mixing is new to you, here’s a little guide to get you started with creating your palette. With yellow, blue, red, and white you can make essentially any color and hue you can imagine.
-
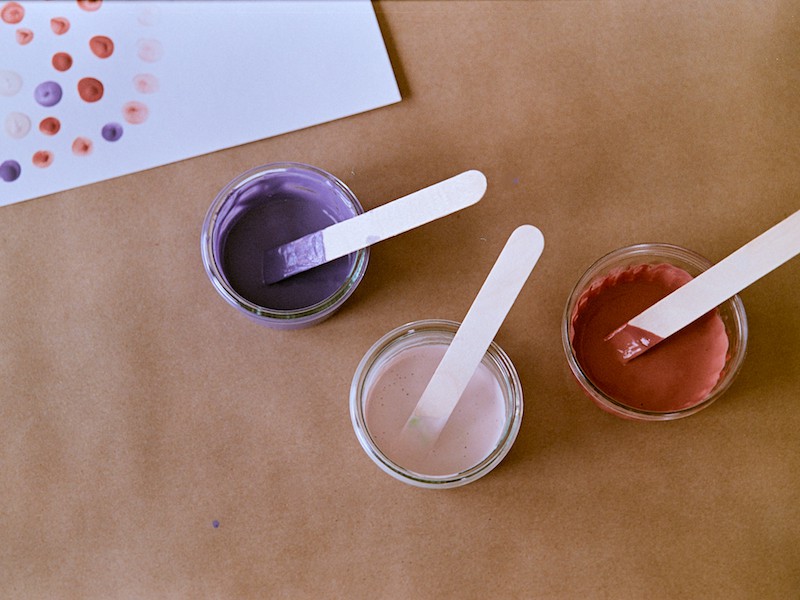
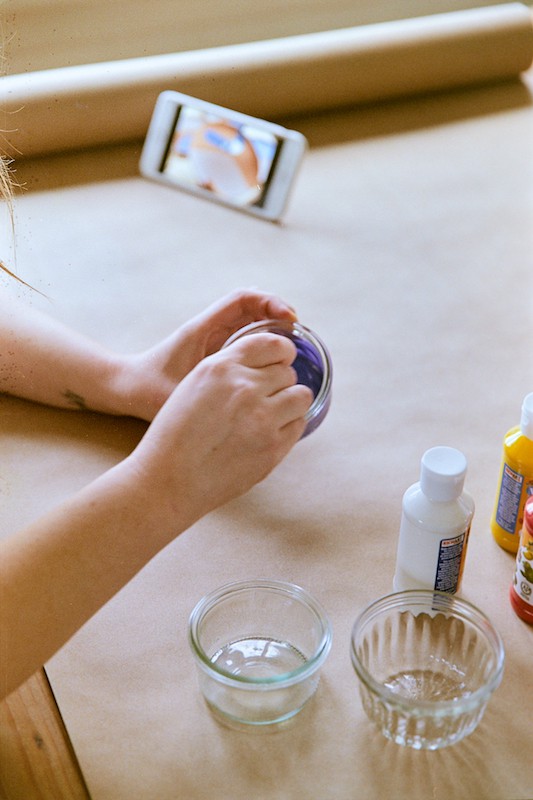
- The number of impressions you want to make with each color you create will determine how much paint you need. You probably don’t need more than ¼ cup of each color to get a few good transfers. If you notoriously “start over” with projects, maybe make a little extra paint! Once you get your colors mixed to your liking, find a roomy (and private) spot in the house with a bare wall around waist height. Being near a sink is preferable. Using as little painter’s tape as you can, secure a piece of your art paper to the wall, making sure it’s hanging level with your belly. You’ll want to secure both top and bottom or, alternatively, both the left and right side.
-
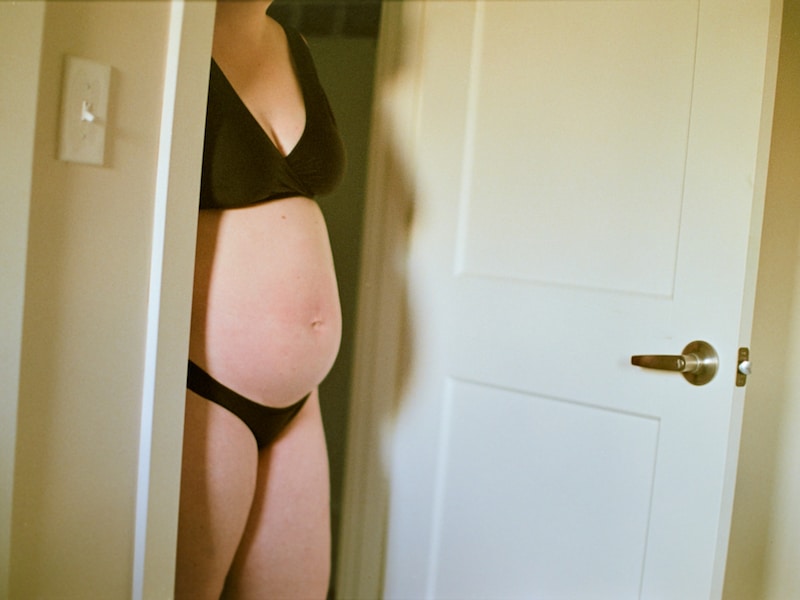
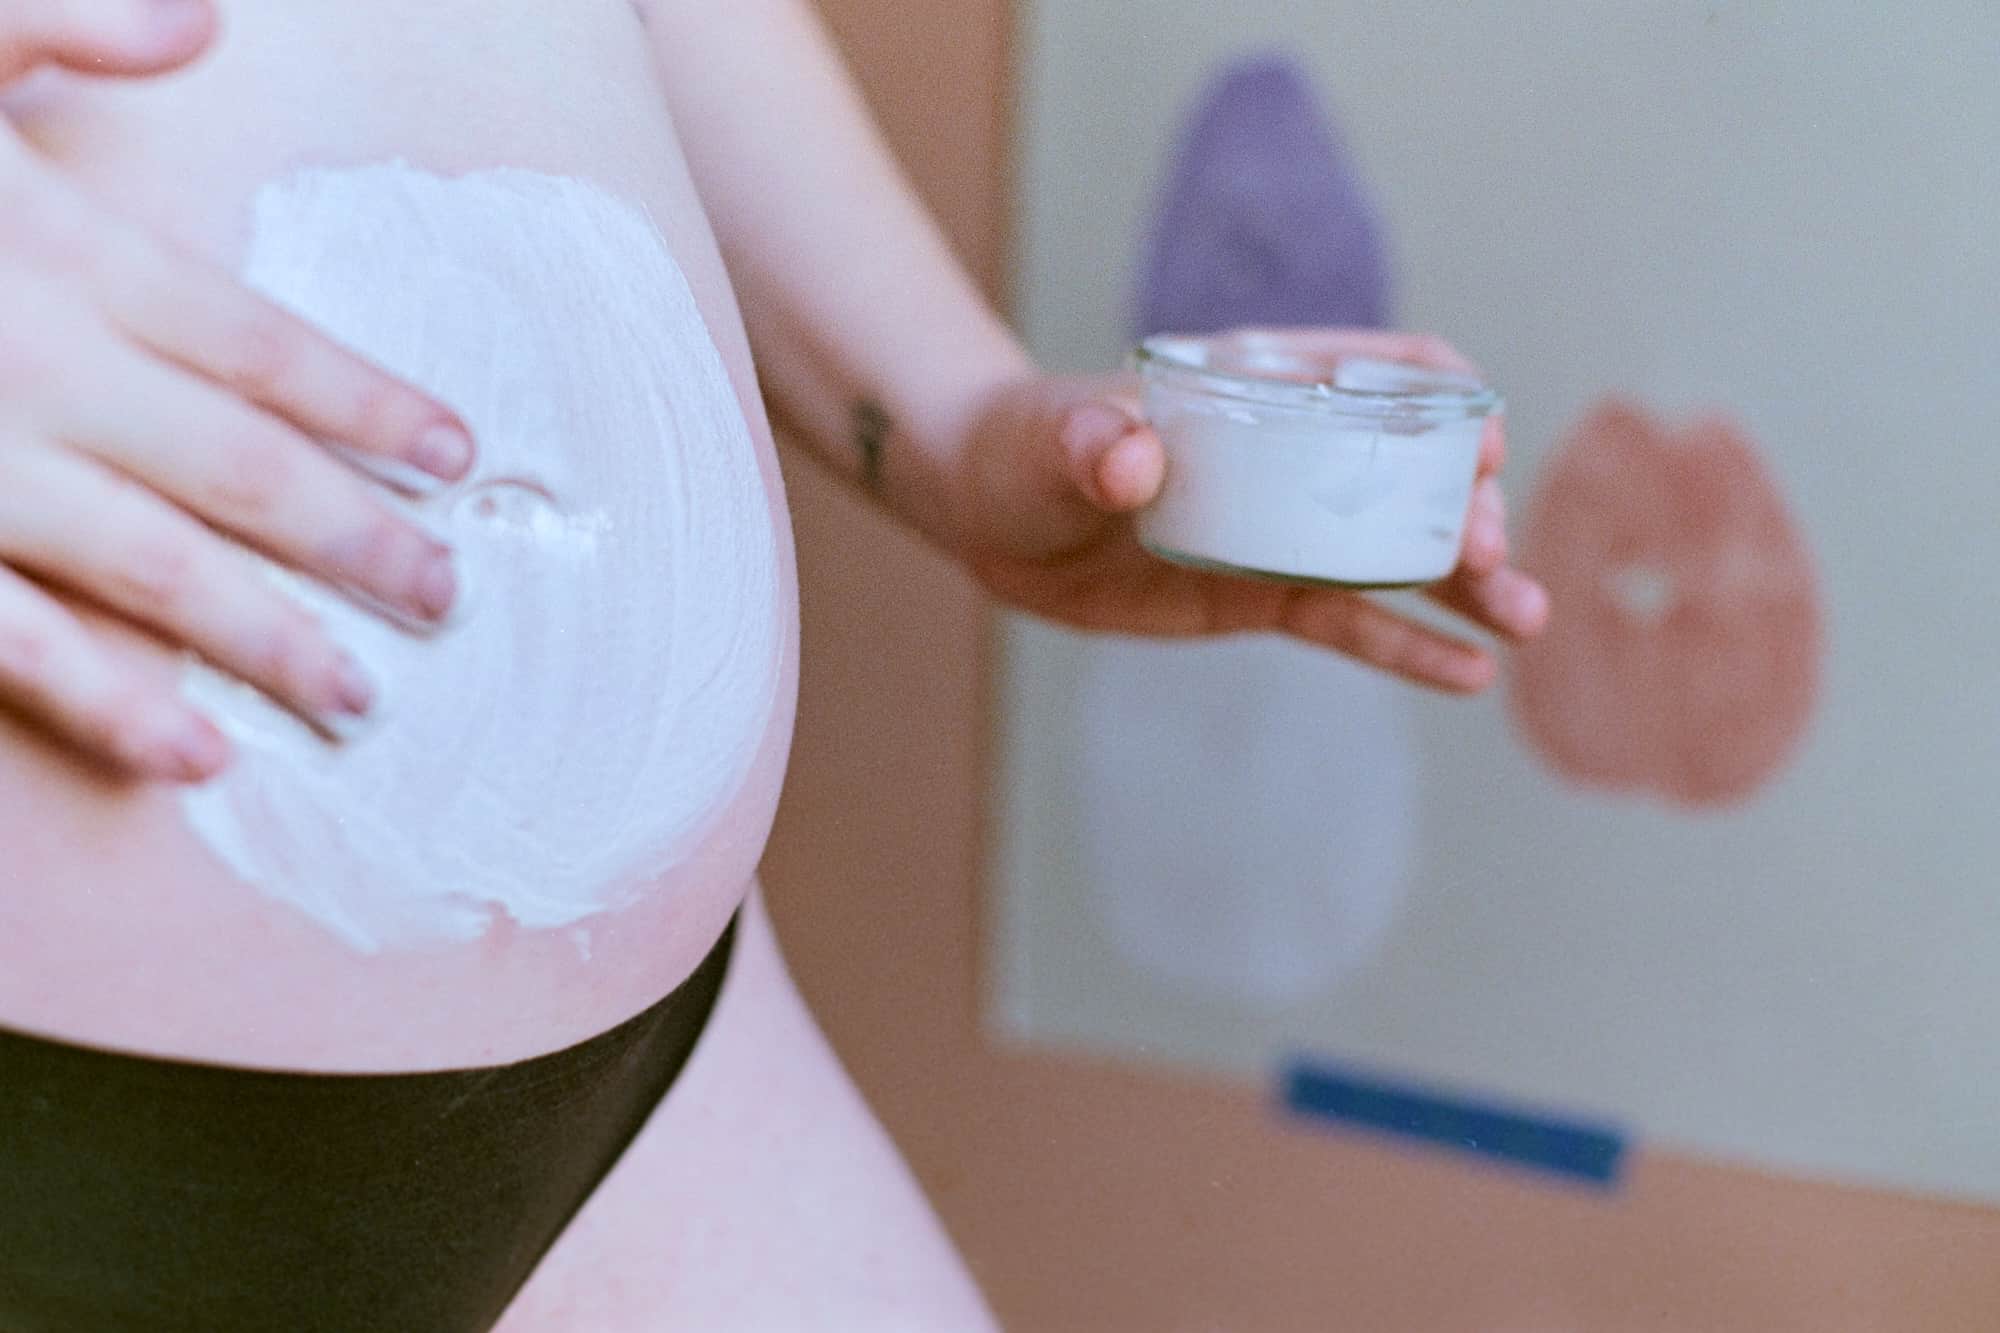
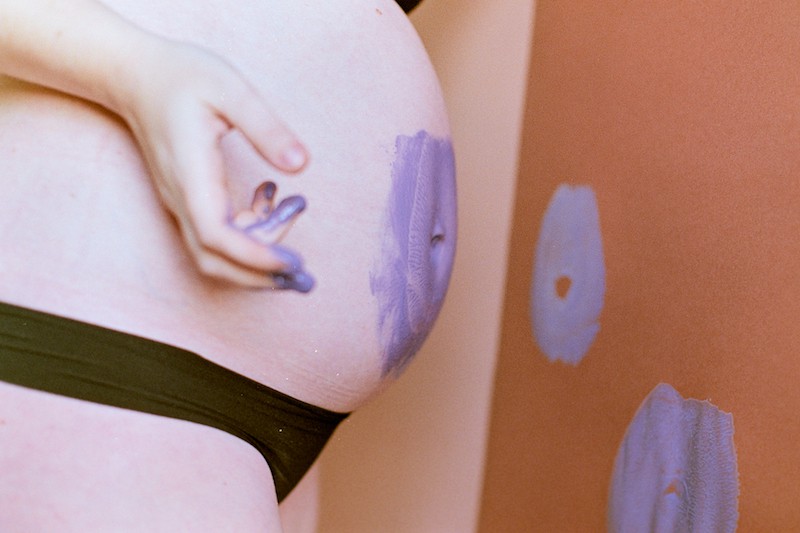
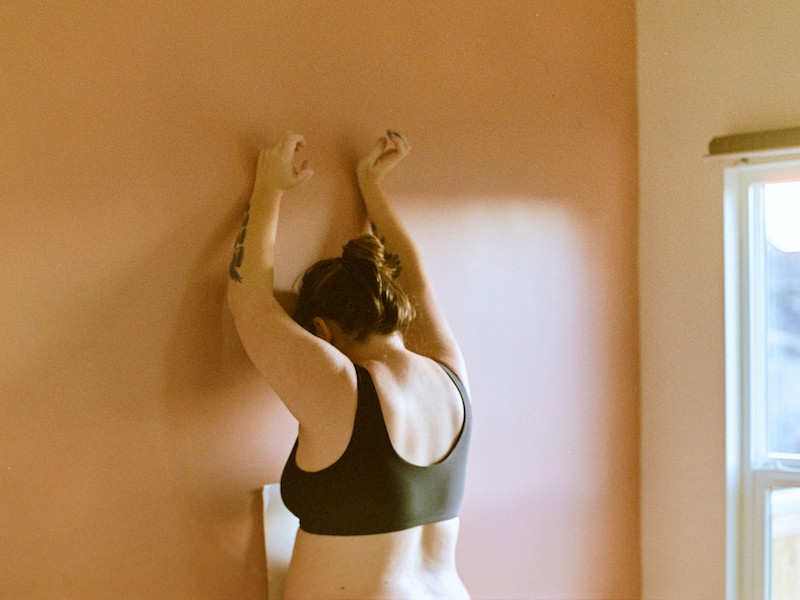
- Take off all clothing except whatever you consider essential for the environment you are in, making sure your full belly is bare.
-
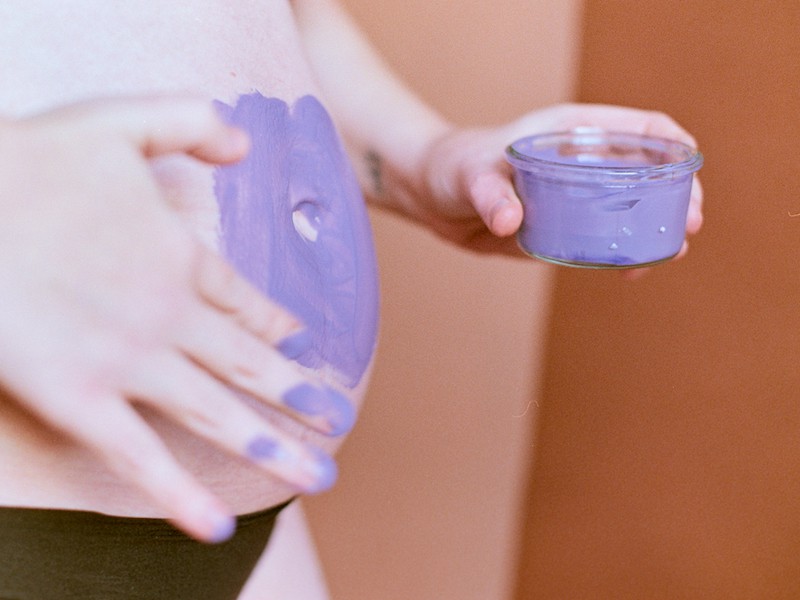
- Taking the first color paint you want to use, scoop out a few fingers worth and begin applying the color onto your belly. Try to consider only applying to the surface area that you think will actually transfer to the paper. It may take some trial and error! You want a nice even layer of paint, not too thick or thin. No need to get the paint in your belly button (if it’s still an “inny”)!
-
- Once your belly is covered with the first color, position your bump in front of where you want to transfer the paint on your art paper hanging on the wall. This is the part that may feel funny, but it is the moment where you and baby are doing this together! It’s totally okay to laugh and let it feel as sweet as it is.
-
- Press your belly onto the art paper with enough pressure to make the stamp. There’s no need to press to the point of discomfort! Pulling your belly away slowly, you should see a very organically shaped circle, possibly with a noticeable spot marking your belly button!
-

- Repeat this process with as many colors as you want, creating any kind of layout that looks good to you.
-
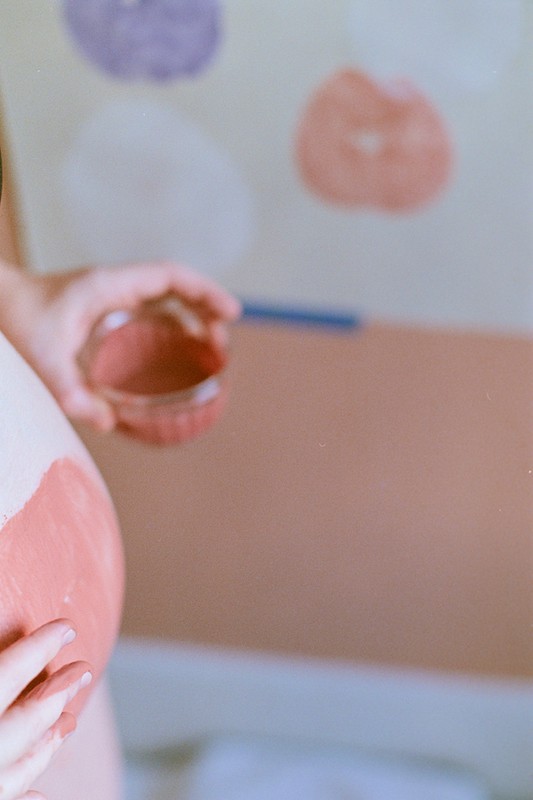
- Doing all the transfers you plan to make with each color in sequence is easiest. This way you can wash your belly with a warm washcloth after you finish using each color, and not have to repeat that step so many times.
-
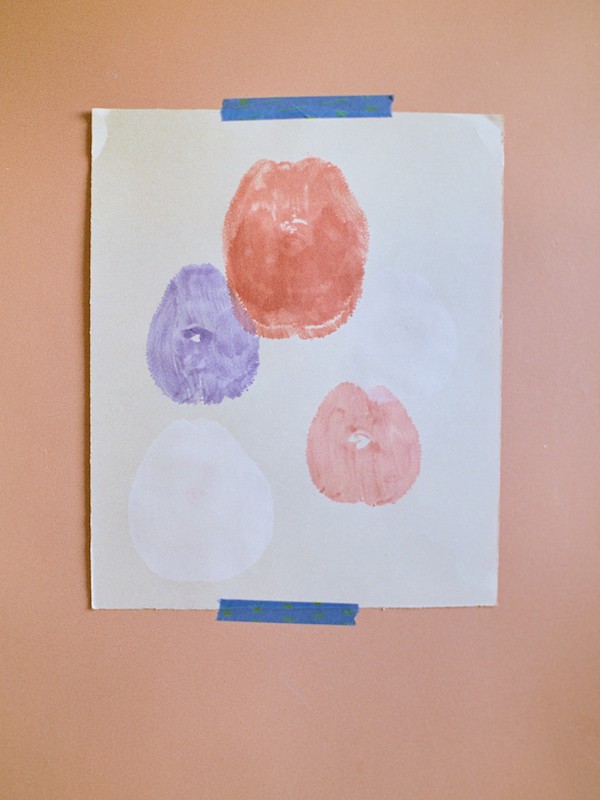
- Remember to stay at least an inch or more from the edge of the art paper so that if you choose to frame your artwork, your art won’t be hiding behind the mat.
-

- Most importantly, have fun! If you don’t like what you made the first go-round, start over! You likely have plenty of weeks of growing ahead of you to try again or make more prints! Signing each print you are satisfied with using your name, baby’s name, the date, and gestation is a sweet way to mark the occasion and cherish your momento.
Share this story